1. Install Subclipse
Subclipse is a plugin that integrates a Subversion client and various related tools into Eclipse.
- Go to http://subclipse.tigris.org/
- Click Downloads and follow the instructions.
2. Check out a branch or the trunk from our repository
- In Eclipse, choose File > Import ...
- Choose SVN > Checkout Projects From SVN... and click Next
- Create a new repository location: https://viki.eecs.harvard.edu/repos/ct3
- Select either the trunk, or one of the branches and click Next.
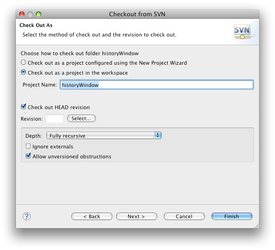
- Choose "Checkout as a project in the workspace" and click Next
- Use the default workspace location (which should probably be /Users/yourname/workspace)
- Click Finish and wait for the code to be downloaded.
3. Make the project into a Java project
Eclipse inexplicably has no feature to automatically recognize Java projects, so we need to do this manually.
- Close Eclipse.
- Navigate to the checked-out folder (usually the name of the branch) and open the .project file in a text editor. Note that the file may be hidden on your system.
- Change
to
<natures></natures>
<natures><nature>org.eclipse.jdt.core.javanature</nature></natures>
- Save and close the .project file
- Re-open Eclipse.
4. Set up the Eclipse build path
You'll want Eclipse to be able to find and build all your code so that you can use Autocomplete, edit-time code checking, and debugging. This requires some setup.
- In the Package Explorer, right-click on your project and choose Properties.
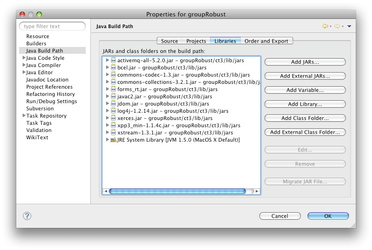
- Go to Java Build Path.
- On the Source tab, remove any existing entries, and click Add Folder.
- Select the
agents,gameconfigs,gui, andsrcfolders. Depending on your project, you might have additional folders that contain Java code; you should add those here. - On the Libraries tab, click Add JARs
- Navigate to the
lib/jarsfolder and choose all of the JAR files that it contains.

